

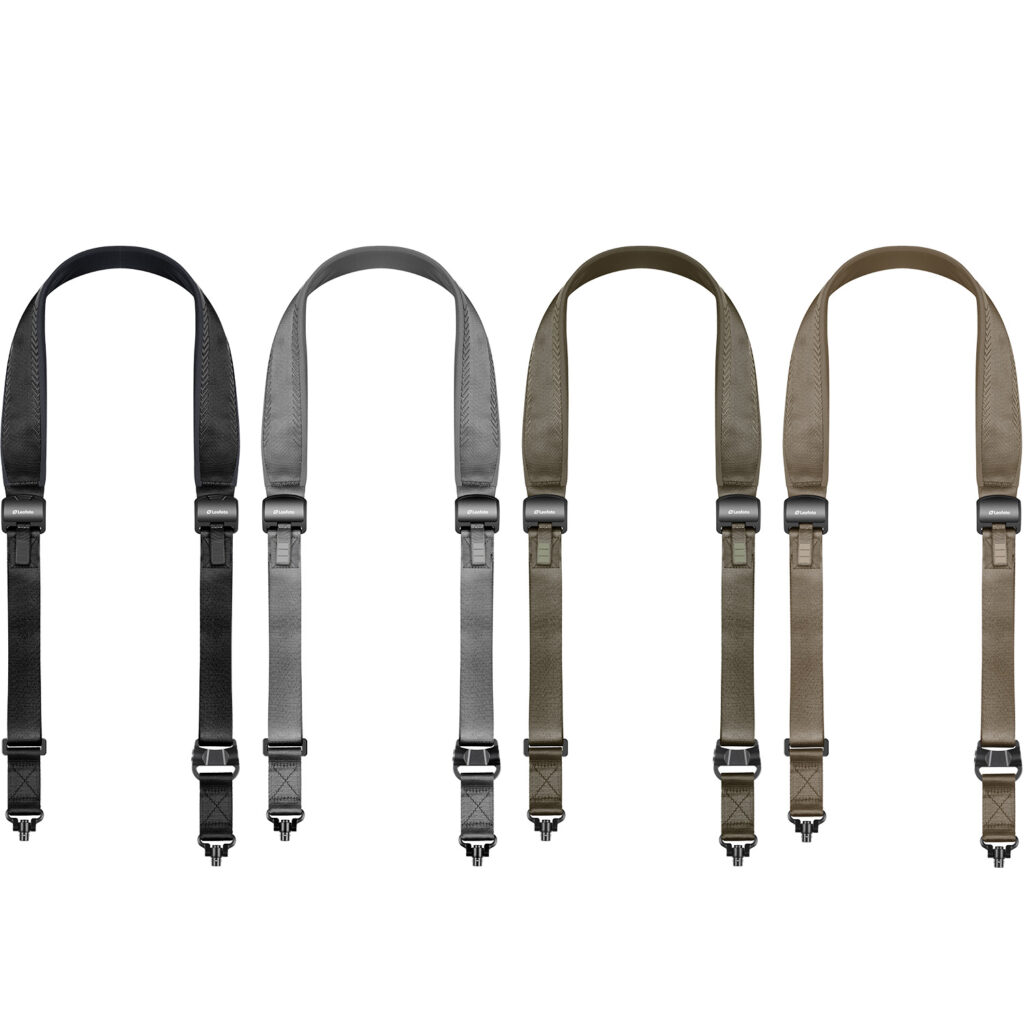
Mounting carrying gear securely onto a camera body forms the foundation of safe field handling. Photographers often encounter uncertainty when transitioning from traditional threaded split-rings to modern quick-detach mechanisms. Understanding how to anchor support webbing prevents drops while facilitating rapid hardware transitions during active assignments.
Modern hardware designs integrate push-button swivels that simplify connecting support webbing to a camera chassis. Selecting an adaptable camera sling strap provides versatility, allowing swift transitions between side-carry positions and tripod mounting plates without tedious rethreading.
Mastering the mechanical steps required to secure and adjust a dedicated camera strap streamlines production days. Proper installation aligns mounting points with natural body ergonomics, distributing equipment mass comfortably across long shooting hours.
Identifying Compatible Camera Mounting Points and QD Hardware
Direct attachment begins by locating the quick-detach sockets installed on your camera setup. Modern baseplates, L-brackets, and cages frequently feature recessed circular ports engineered to receive ball-bearing swivels. Installing an Arca-compatible plate with a built-in QD socket beneath the camera body provides a balanced downward-hanging position.
Attaching hardware to traditional top-corner lug mounts offers an alternative option for dual-point configurations. Operators can fasten compact split-ring QD adapters or nylon loop connectors directly through standard eyelets to establish upper anchor points. Inspecting these mounting brackets confirms that connection ports remain clear of debris before inserting locking pins.
Engineers at Leofoto manufacture the SP-02 system around steel push-button quick-detach swivels that seat directly into standardized QD receptacles. Depressing the central spring-loaded button retracts the outer retention ball bearings, permitting smooth entry into the socket. Releasing the top button settles the bearings firmly into the internal retaining groove.
Securing Quick-Detach Connectors for Dual-Point Support
Configuring two distinct contact points stabilizes heavy telephoto lenses and prevents camera rotation during movement. Photographers fasten the first swivel connector into the lower socket located on the baseplate or cage. Positioning this anchor at the base causes the lens to point downward along the hip.
Connecting the second swivel terminal to an upper camera eyelet completes the two-point setup. Operators press the release button, slide the metal stem into the port, and allow the collar to snap flush. Mechanical engagement establishes a solid connection between the webbing and the camera frame.
Testing the stability of your camera strap prevents unexpected separation while hiking or shooting on location. Pulling upward on each anchor point confirms that internal steel bearings remain locked inside socket recesses. Auditing both attachment ends establishes confidence before hoisting heavy zoom lenses over the shoulder.
Converting the Webbing Layout to a Single-Point Sling Setup
Dynamic assignments often require fluid camera movement that dual-point configurations can restrict. Switching to a single-point connection permits rotational freedom around one central axis, accelerating orientation shifts between portrait and landscape framing. Rapid repositioning benefits documentary photographers who need immediate flexibility without catching fabric on jackets.
Transforming the layout requires unplugging the upper swivel connector from the top camera lug. Operators guide that free terminal directly toward the secondary QD docking socket integrated into the primary webbing collar. Inserting the plug creates a closed suspension loop while leaving a single lead connector extended.
Designers at Leofoto built this convertible mechanism into the SP-02 harness to facilitate rapid single-point conversions without tools. Plugging the secondary swivel into the strap’s reinforced receiver transforms the harness into a responsive camera sling strap. The camera body hangs freely from its lower mounting plate, gliding smoothly into shooting position.
Adjusting Webbing Length and Gliding Tension for Active Carry
Establishing proper strap length balances carrying ergonomics with fast optical access. Webbing adjusted with excessive slack allows heavy equipment to swing against the hip during walking, producing operator fatigue. Conversely, overly tight tension binds against garments, restricting smooth movement toward eye level during sudden shooting opportunities.
Integrated quick-pull sliders permit length adjustments without removing the harness from your torso. Grabbing the low-profile pull tab allows users to cinch webbing upward against the chest while navigating difficult terrain. Pushing the slider lever releases tension, extending overall length when raising the camera to shoot.
Positioning broad shoulder padding distributes the weight of pro bodies and telephoto lenses across the upper back. High-density nylon webbing traveling through smooth guide hardware prevents binding under heavy loads. Maintaining flat strap orientation across your back prevents uncomfortable twists during extended production days.
Securing loose webbing tails into retention clips keeps the carrying profile tidy and snag-free. Dangling strap ends catching on branches or studio gear can disrupt balance in tight spaces. Clean strap routing maintains a professional setup tailored for demanding outdoor and studio environments.
Verifying Connection Security and Hardware Retention
Routine mechanical maintenance helps preserve the long-term reliability of quick-release mounting hardware. Environmental dust and fine grit can settle inside socket recesses, inhibiting retention bearings from seating deeply into locking channels. Wiping sockets clean with a dry cloth and clearing ports with air removes abrasive debris.
Photographers checking their camera strap verify that swivel heads rotate smoothly across three hundred sixty degrees without friction. Excessive resistance during swivel rotation signals contamination that calls for cleaning. Applying dry silicone lubricants sparingly inside the spring mechanism maintains light push-button action across diverse climates.
Inspecting structural stitching along critical nylon loops preserves load-bearing safety season after season. Products crafted by Leofoto utilize reinforced bartack stitching designed to resist fraying under continuous dynamic tension. Identifying damaged threads early allows operators to address wear before hardware failures compromise field equipment.
Mastering proper attachment, conversion, and adjustment protocols unlocks the full capability of an ergonomic camera sling strap. Adopting a methodical mounting procedure keeps camera bodies secure while granting photographers fluid mobility across every photographic environment.
